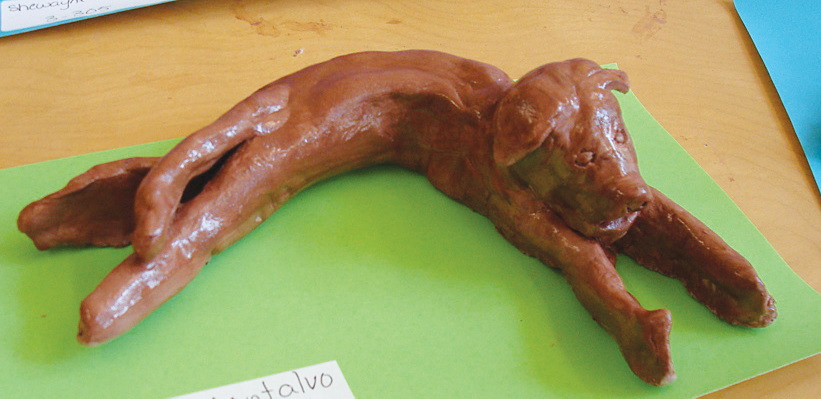
This game is a fun and interactive way to introduce even the youngest learners to clay properties and techniques. They will love following along!
OBJECTIVES
Students will understand:
• What clay is and where it comes from.
• That clay can be manipulated into many forms.
• That clay is used for many things in everyday life such as dishes, tiles, electrical components, synthetic teeth, bricks, etc.
Students will be able to:
• Use their hands as tools to manipulate clay in a variety of ways to create a clay sculpture.
• Use clay art vocabulary when describing their clay pieces and to articulate how their clay object was made.
MATERIALS
• Self-hardening clay – a ball the size of a tangerine for each participant
• Newspaper
• Water containers
• Clay items as examples: mug, figurine, etc.
• Paper towels
VOCABULARY
attach, clay, coil, join, mold, overlap, pat, pile, pinch, poke, press, pull, push, roll, sculpture, shaping, slippery, smooth, stack, squeeze, technique, texture.
PREPARE FOR THE ACTIVITY
1. Purchase or gather the materials listed above.
2. Cover tables with newspaper and set up materials.
PROCEDURE
Begin by engaging students in a discussion about clay (what it is, where it comes from and what you can make from it). Show students examples of objects or reproductions of objects made of clay to examine how other artists and potters have been inspired by the medium or try reading a book about clay such as When Clay Sings by Baylor Byrd for inspiration.
Demonstrate for students how to manipulate clay in a variety of ways and ask them to name what the clay is doing as you demonstrate, using your hands as tools, the clay getting longer, flatter, taller, wetter, standing up, etc. Then, give each student a ball of clay, about the size of a tangerine, and guide them through the following exercises, reminding students to add water to their clay at any point when they observe it drying out, by dipping their fingers into water and smoothing them over the clay.
1. rolling and patting and turning the clay into a round ball
2. squeezing and turning the ball into a potato shape
3. rolling the potato shape into a coil on a flat surface (have children stand for greater mobility)
4. curling the coil into a spiral
5. smoothing out the lines in the coil to make a pancake
6. poking as many holes in it as they can
7. twisting and turning pieces off
8. pinching and pulling the clay pieces into different forms
9. turning their clay back into a ball
Having guided students through these exercises, further demonstrate various ways to make shapes, coils and forms stand up by either making them thick and strong or by stacking and piling them. Show students how to attach two pieces of clay together by overlapping them and rubbing in the join and how to secure attachments and test their strength.

After practising with a variety of clay molding techniques, students can make an object of their choosing. Clay creations can be imaginative or explorative and can depict people, places or things. Texture can be added to objects using a variety of household objects such as forks, spoons, popsicle sticks, bark, lace, etc.
When finished, gather students together to share and discuss their work and reflect on the art-making process. Encourage students to use clay related vocabulary to respond to their work and the work of their others. Suggested questions:
• What is clay?
• How can you build with clay?
• How can we make clay stand?
• Tell me about your clay sculpture.
• How did you make your sculpture?
• What did you have to do to attach two pieces of clay together?
• How are the sculptures different or the same?
TIPS AND EXTENSIONS
Students can decide to paint their clay sculptures after they dry or leave them in their natural state. Painting students’ creations with a thin coat of white glue diluted with water is recommended to help them stay together.
ABOUT THE AUTHOR
Agnieszka Chalas
Agnieszka Chalas is currently the Manager of Community Engagement at ArtsSmarts. She holds an MA in Art Education from Concordia University, a BEd from the University of British Columbia, and a BFA from NSCAD University. She has a broad base of experience in art education has published curriculum, resource materials and articles on topics related to the teaching of art.
This article is from Canadian Teacher Magazine’s Jan/Feb 2013 issue.


