


It is a clear, bright, sunny morning in June. The grade three students and an enthusiastic bunch of adult volunteers are assembled outside in the school courtyard. Anticipation hangs in the air. The classroom teacher explains the harvesting procedure to the excited young gardeners and then they quickly gather into their familiar gardening groups. By checking the name tags on the sides of the big black tubs, the children are able to identify their own mini gardens and the harvest begins! The courtyard is buzzing with activity and it’s not long before the first, “I’ve got one!” is heard. Potatoes of all sizes and shapes are soon exposed to the morning light. Heaped up on the plastic drop sheets, the mounds of spuds grow, until the last one is found and the counting begins. Fifty-seven spuds in one tub. Sixty-two in another. The count goes on. This crop is truly a bountiful harvest in so many ways.
What is the Spuds in Tubs Program?
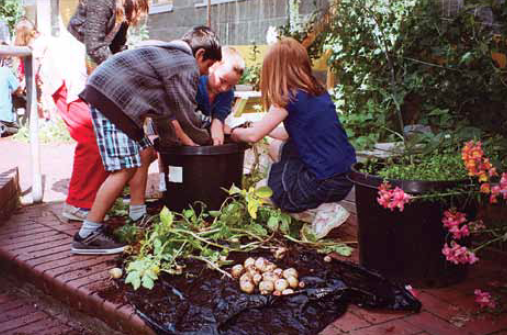
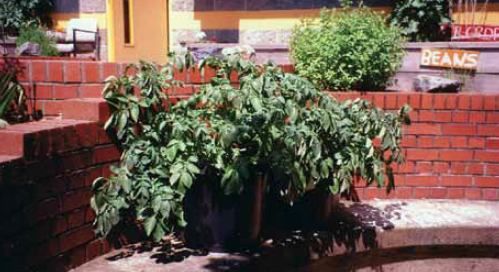
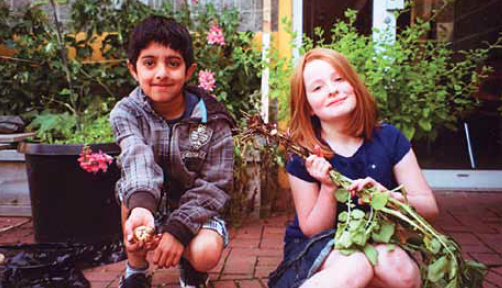
Harvesting the crop.
The BC Agriculture in the Classroom Foundation recognized that not everyone has access to school gardens and that many teachers want to give their students a chance to grow, harvest and eat a vegetable as part of their school experience. They also understood that it is difficult for classes to care for gardens over the summer months. For these reasons they came up with the idea of making gardens in tubs that could produce a crop before the end of June. They found just the right crop—a potato variety called Warba which produces a small potato within 60 days. They also found the right compost, plant food and the right sized containers. Students from a variety of grades, subject areas and locations can now benefit from a successful gardening experience.
How do I register my class for the Spuds in Tubs Program?
BC Teachers are invited to apply at the beginning of the school year by using the contact information listed below. All classes enrolled in the program receive the tools and instructions for growing the potatoes. A student log book is also available on the website. For out of province teachers, those who miss the registration deadline, or those who would just like to try gardening on their own, there is a step-by-step handbook on the website.
Contact Information
Laura McKenzie
BC Agriculture in the Classroom Foundation
1767 Angus Campbell Road
Abbotsford, BC V3G 2M3
Email: Laura@aitc.ca
Web: www.aitc.ca/bc
What do we do to grow spuds in tubs?
Stage 1: Before Planting (before spring break)
- Attend the teacher workshop in your area.
- Pick up the materials for your classroom.
- Leave the seed potatoes in their bag in your classroom to encourage sprouting.
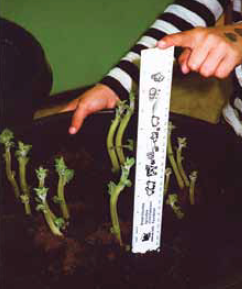
- Measure the sprouts. When they are 2 cm long (or longer) proceed to stage 2.
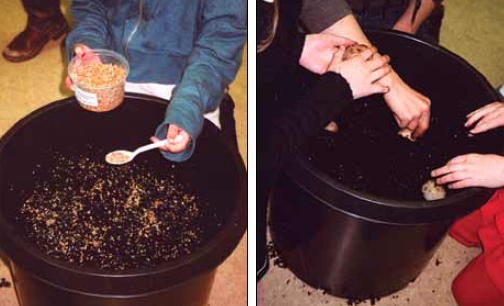
Stage 2: Planting
- Lay the plastic drop sheets on the floor.
- Empty one bag of soil into each tub.
- Mix 1 scoop of Potato Plant Food thoroughly into the soil for each tub.
- Dig 5 holes in the soil of each tub, in a circle around the tub, about 10 cm from the outside edge.
- Plant five seed potatoes with the sprouts facing upwards.
- Cover the potatoes with soil and water.
-
Leave the tubs in the classroom.
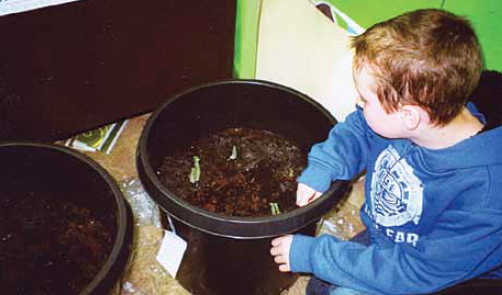 Stage 3: Growing and Hilling (after spring break)
- As the potato sprouts grow, add soil to cover most of the stem. Leave a few leaves from each sprout stretching above the soil.
Stage 4: Moving the Tubs Outside
- Measure the plants. When the largest plant reaches 15 cm above the rim of the tub it is time to move the plants outdoors (weather permitting).
- Add some potato plant food to the soil and gently move the tub outdoors.
- For the first week, loosely drape a plastic drop sheet over the tub to protect the plants from frost.
 Stage 5: Spuds in Tubs Living Outside
- Check to see if the plants are dry by feeling the soil. Water the plants as needed.
Stage 6: Ready to Harvest (before school ends)
- By early to mid-June the potatoes will be ready to harvest.
Stage 7: Harvesting
- Lay the plastic drop sheet on the ground.
- Pull up the potatoes and count them.
- See if you can find the original seed potato.
- The leftover compost can be added to the existing shrub beds around the school.
- Wash the tubs and store for re-use next spring.
 Stage 8: Enjoying the Harvest
- Wash the potatoes.
- Steam or boil them until they pierce easily with a fork.
- Add butter and serve. Enjoy!
Canadian Agriculture Literacy Week: February 26 to March 3
Agricultural programs and resources for classroom vary from province to province. To see what is available to you in your area check out the information on this website: www.aitc.ca/
ABOUT THE AUTHOR
Brenda Boreham
Brenda has 35 years of classroom experience. She has presented workshops on literature based themes and literacy strategies, and has written a number of resources for teachers. She remains passionate about matching up kids with books.
This article is from Canadian Teacher Magazine’s Sept/Oct 2012 issue.