


It’s the beginning of the school year and there is so much to think about. As teachers, our priority for the beginning of the year is to create a community that will function well and sustain us throughout the year. By guiding students through creative, artistic activities, the foundation for a classroom community starts to build visually. We start with a relatively blank classroom and begin with the philosophy that this is the students’ space too so they should be part of the process right from the start. They will see the classroom environment transform as imprints of themselves are included in the classroom throughout the year. To begin the year with a bang, we often start with what we call “The Community Quilt.”
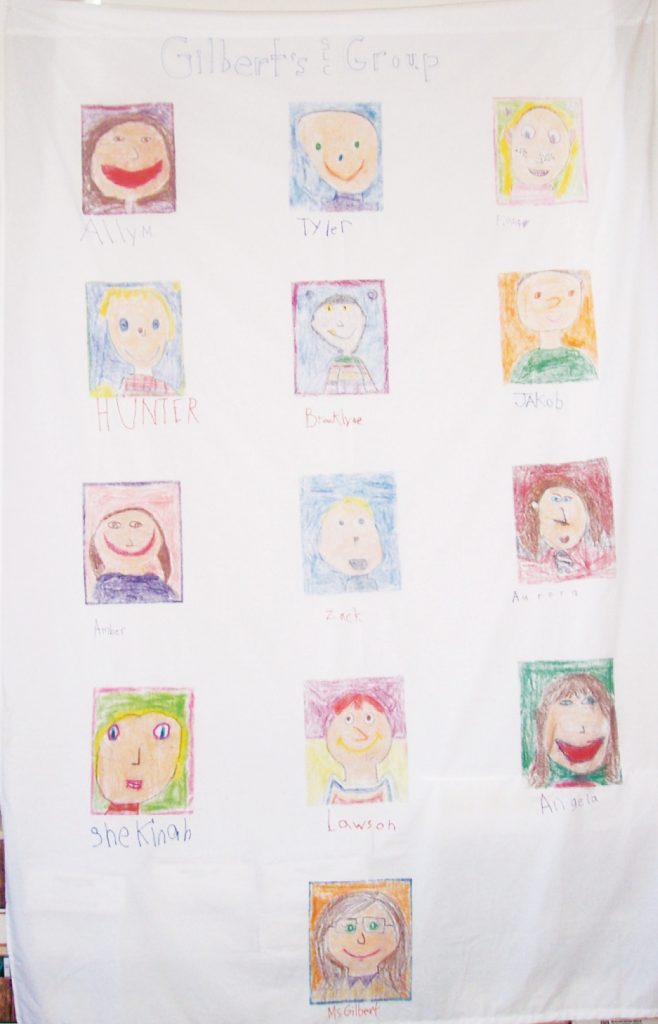
This quilt was created at the beginning of a 12-day Summer Literacy Camp.
This is a very low-risk activity for each student which is extremely important at the beginning of the year. It helps to establish an environment that allows every student to fully participate and makes everyone feel like part of the community. It’s good to begin this process with a dialogue and read-alouds that address individuality and uniqueness. Tie this theme of “individuals make a community and our uniqueness makes it interesting!” into other activities (like MI surveys and charting) that show each child how we are all parts of a whole picture. The quilt is a community art project that reinforces this concept visually and through a discovery process. The quilt becomes part of the classroom environment and will be front and centre throughout the year. The students are fascinated by the process and the quality of the outcome so they feel successful and are proud of their accomplishments right from the get-go. Their uniqueness, which adds to the overall aesthetics of the quilt, is celebrated.
The activity requires students to draw their portrait on an 8 ½ x 11 piece of sandpaper using crayon only. The images are then transferred onto a white sheet in a unified format using a hot iron. The result is a beautiful, cooperative, collaborative piece of art that will be displayed proudly in the classroom for the full year or as long as you want to display it. At the end of the year you can cut out the individual portraits and give them back to the students.
Materials
- A white bed sheet (any quality—twin size or larger depending on group size and layout)
- 8.5”x11” sandpaper (preferably 150 grain) – 1 per student
- Crayons (several packages with various skin shades) – use quality wax crayons for best results
- Hot Iron
- Ironing surface (rectangular classroom tables covered with a towel work well) and masking tape to hold things in place and to use for alignment purposes
Step 1: Start by having students put a dark border around the picture with black, blue or purple as the other colours don’t show well enough on the white sheet. The borders are symbolic of the boundary surrounding each individual’s personal space (optional – we’ve done the quilt without the borders and it was equally beautiful).
Model the first one for the class. Start with a piece of sandpaper taped to the board at the front of the class. Then explain how the project works. Do a quick picture of yourself, thinking aloud as you draw the various parts. Have all your students do their pictures going the same direction on the page (portrait or landscape). Finally, work with them in small groups to make the process more manageable and to ensure that the pictures are done in a similar fashion.
An important note: Because the image will transfer to the sheet in reverse, no writing can be in the picture. So get the kids to start by putting their names on the backs of their sandpaper in marker. Be sure to remind them to NOT write on the picture for this reason.
Notice how dark and vibrant the colours have to be to transfer well.
Step 2: When all the sandpaper pictures are completed, if necessary fill in colours on any that need it—the entire surface of the sandpaper should be covered with wax for the picture to transfer. In the past we have also gone over some pictures to darken them up when necessary.

Peter setting up the next row to be ironed on.
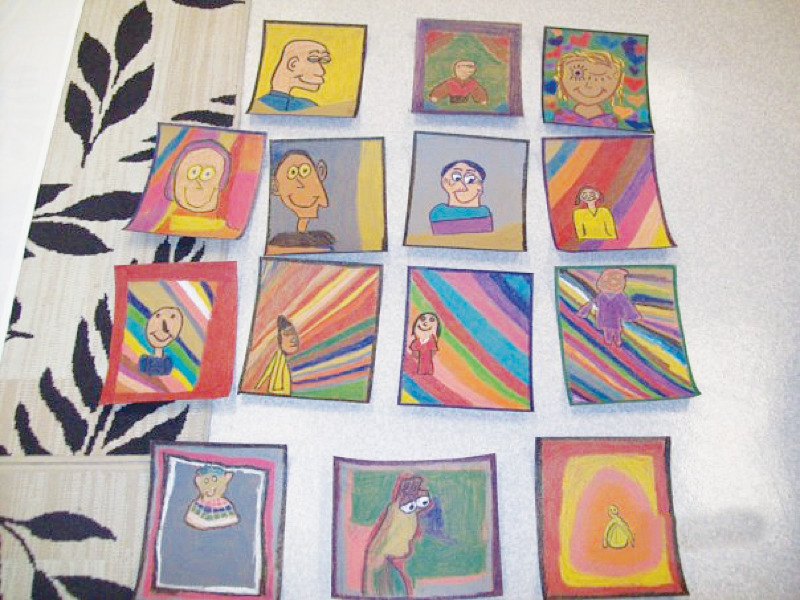
Step 3: Lay out the pictures according to how you want them. Leave room under each picture for students to write their names using a marker. Portraits can be laid out on the sheet as a grid or in any shape you like. Keep in mind that as a grid it can be used as a teaching tool in math for things like transformational geometry (keep the sandpaper picture to show reflection) or moving on a grid (How do you get from student A to student B?). They could also be put in a circular format (on a king-sized sheet) and the sheet could be laid out as a seating arrangement for students on the carpet.
Step 4: Ironing … the tricky part. Lay down a thick towel on a table to act as your ironing board. Lay out your first row of pictures using a small round of masking tape to hold them in place. Place the sheet over the top of the pictures being sure to line them up before ironing. Slowly move your iron over the sandpaper, remembering as the wax melts it transfers to the sheet, so you don’t want to smear the wax by going too fast. Have a cloth available to wipe wax off the iron in the event that some sticks to the bottom.
Once that row has been ironed on, set up the next. Use masking tape to line up the pictures. Use the table edge to ensure the pictures are evenly spaced.
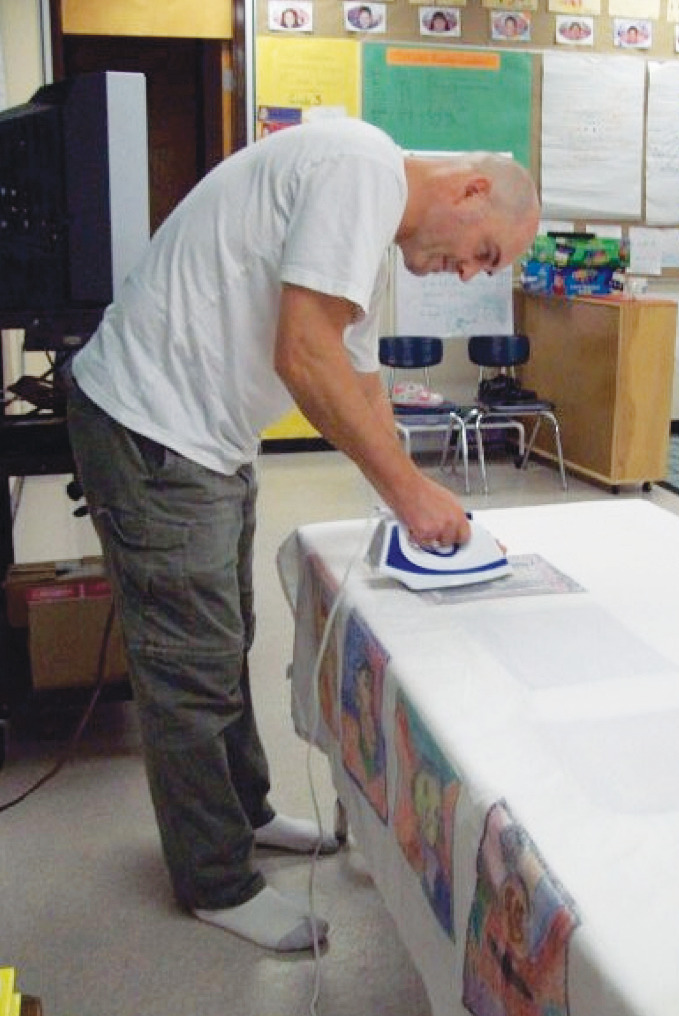
Peter ironing the pictures face up onto the sheet in his grade 2/3 classroom.
Step 5: Have your class come up with a name to write at the top, like “Our Community Quilt” or “Our Classroom Community,” etc.

Lyla Doolan, classroom EA, arranging the words to be traced onto the sheet.
Step 6: If you want, have students sign their names using coloured sharpie pens. The ink bleeds into the fabric so this can be challenging. Depending on the age of the student, there are a couple of ways this can be done. Draw a black box on a paper and slip it under the picture where you want them to sign so they have a guide for how big to write. Keep in mind that mistakes can’t be fixed. Another method is to have students write their names on paper using a marker and then you use a sharpie to trace over the name just under their picture.
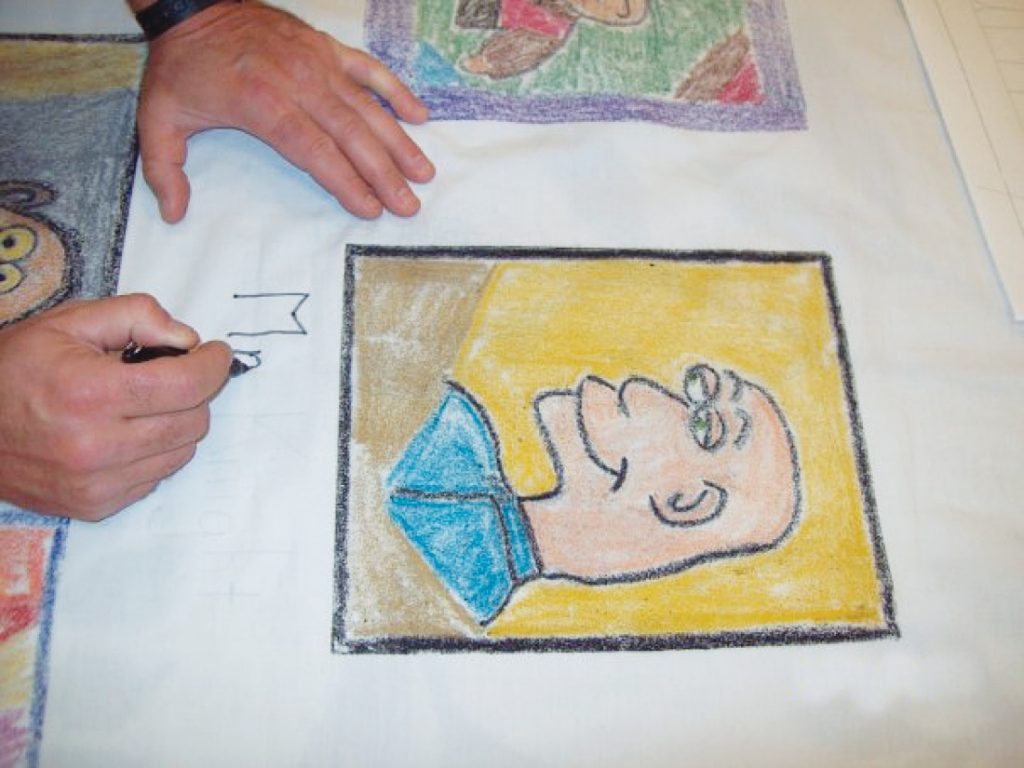
Peter writing his name under his portrait.
Step 7: Voila! It’s done. Enjoy. 
Other Ideas for This Art Technique
- Have students each illustrate a panel of a common story and bind them together to make a quilted book.
- Make a T-shirt – the crayon will withstand hundreds of washes!
- Illustrate a process.
- Make a simple family tree.
- Create a Picasso – have each child do a part of the whole.
The possibilities are ENDLESS!
ABOUT THE AUTHORS
Peter Knight and Julie Gilbert
Peter Knight OCT and Julie Gilbert OCT are elementary teachers with the Kawartha Pineridge District School Board. They are married to each other and have two children.
This article is from Canadian Teacher Magazine’s Sept/Oct 2011 issue.