


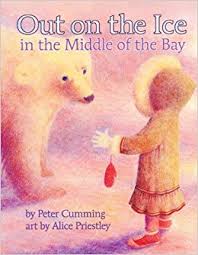
 Title: Out On The Ice In The Middle Of The Bay
Author: Peter Cumming
Illustrator: Alice Priestley
Genre: Picture Book
Plot Summary
One November afternoon, Leah’s mother went visiting, leaving Leah with her father. When Leah’s father fell asleep, Leah pulled on her outdoor clothes and went outside.
Snow covered the land. Ice covered the bay. The sun was starting to go down. The moon was coming up. Out on the ice in the middle of the bay, a huge iceberg stood.
On the other side of the iceberg Mother Nanook (a polar bear) was feeding her cub. When Mother Nanook fell asleep the cub wandered off.
The sun was shining red on the snow. The moon was climbing up in the sky. Across the ice from Baby Nanook an enormous iceberg loomed.
Both of the children made their way towards the iceberg. Eventually they were aware of each other. They were curious.
Leah reached out and touched Baby Nanook’s thick fur then curled up in a ball at his feet. Baby Nanook crouched down and toyed with Leah, batting her gently back and forth between his paws. Leah snuggled into the warm circle of his chest and legs. Baby Nanook nuzzled her tiny body. He didn’t know what to make of her.
When the two sleeping parents awoke they were alarmed to find their children missing. Leah’s father reported her missing to the radio station and then scrambled over the pressure ice and out onto the ice of the bay to look for Leah’s tracks. Mother Nanook used her nose to follow her baby’s scent towards the iceberg. When the two parents met each other on the ice Mother Nanook took a swing at Leah’s father. Leah’s father ducked and shot. They both missed. The sound of the rifle woke the children up.
Leah called out and then ran to her father. Mother Nanook ran to her son and nuzzled him. Both parents faced each other.
A chill wind blew over them all. And then, on that cold November night, out on the ice in the middle of that bay, under the light of that cold moon, the bear didn’t attack the man. The man didn’t shoot the bear.
Mother Nanook and her son ran around the end of the iceberg and Leah returned home with her father.
Learning Intention: Focus on Visualization as a Reading Strategy
Readers visualize when they make images in their heads from the text they are reading or that is being read to them. When talking to students about visualizing, it is important to emphasize that:
- Visualizing is easy to do.
- Visualizing and connecting are very similar. The images that you create in your mind come from connecting the author’s words to your memories.
- There are many colourful words that help you create pictures.
Materials Required
- 1 copy of Out on the Ice in the Middle of the Bay
- 1 copy of the visualization worksheet per student (see sample below)
- 2 sticky notes
Before Reading
1. Read through the book and place a sticky note:
- on page 4 next to the following text: “The sun was shining red….iceberg loomed.”
- on page 16 next to the following text: “But out on the ice…..as still as a rock.”
2. Conceal the cover of the book (placing the book inside a file folder works well).
3. Explain to the class what visualizing is (making a picture in your head from the author’s words).
4. Explain that visualizing is easy to do and with practice it helps you to deepen your understanding of the text.
5. Explain that because each person has a distinct collection of memories and his/ her own unique way of thinking, that today’s activity will be a different experience for each student.
During Reading
1. Starting at the top of the page and working downwards, give a verbal description of the front cover of the book. When you are finished the description give the students an opportunity to ask you questions about the book cover (to help clarify the images in their heads).
2. Show the cover of the book to the class.
3. Ask each student to turn to a partner and share what was the same and different about the book cover and their own images.
4. Begin to read the story. Pause to look at the pictures and discuss the story details.
5. Stop reading when you come to the first sticky note. Ask the students to listen carefully to see if they can make a mental image of the text as you read it.
6. Ask the students to turn to the same partners and talk about the image that they have.
7. Share the illustration on that page with the students. Talk about what was the same and different about the book illustration and their own images.
8. Continue reading the story and repeat the process when you come to the second sticky note.
9. Continue reading to the end of the book.
After Reading
1. Distribute a copy of the visualization worksheet to each student.
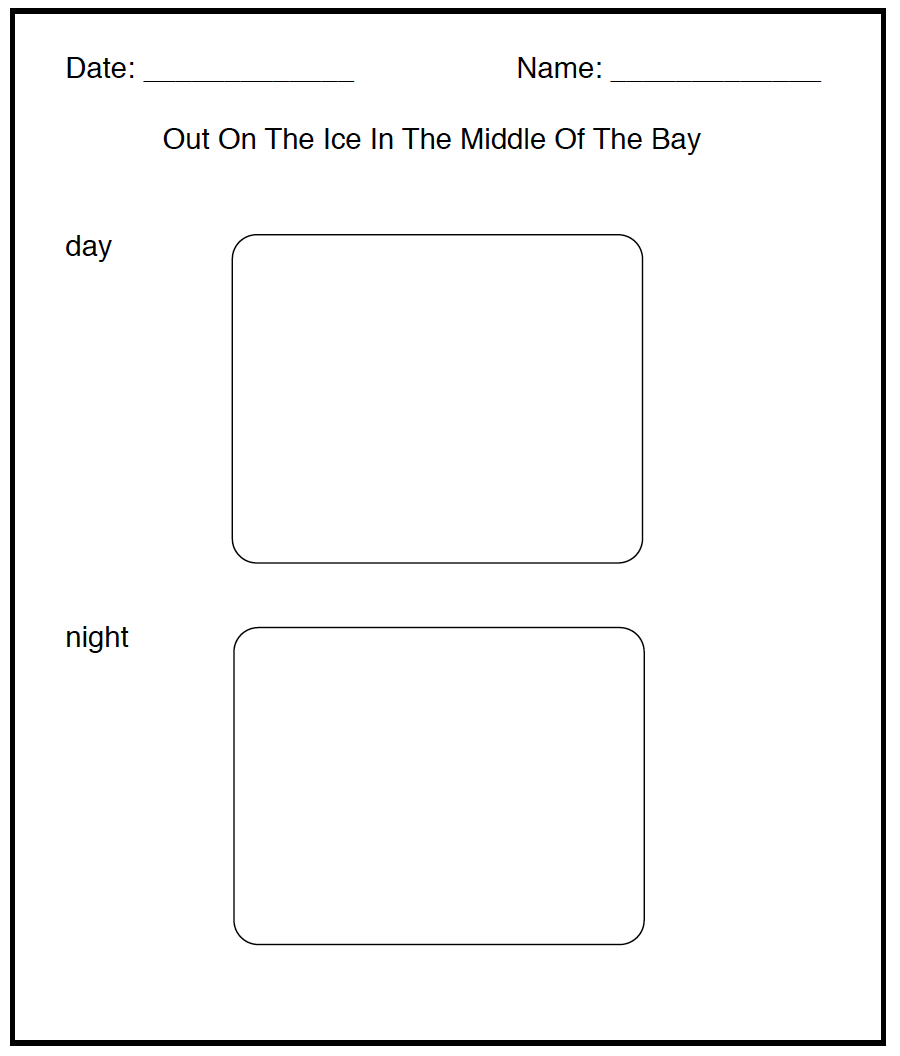
2. Ask the students to draw and colour an illustration of the first piece of text on page 4. You may need to reread the text. Do the same with the text on page 16.
3. When the drawings are completed and coloured, have the students leave their work on their desks and go on a walk around the classroom to look at the other pictures (at least 5).
4. After they return to their seats give the students another 10 minutes to adjust or add to their own pictures before handing them in.
Suggested Supplemental Resources
Uumajut by Simon Awa Seeglook Akeeagok, Anna Ziegler and Stephanie McDonald
Together Forever by Per-Henrick Gurth
Baby Polar Bears by Bobbie Kalman
Amazing Animals – Polar Bears by Valerie Boddan.
Two Print Making Projects that work well with this book
The illustrations in this book are developed with layers of coloured pencil strokes. This blending of colour is an effective way to represent shadows and the sun and moonlight reflected on the snow. The pages are bordered with printmaking images (pencil crayon rubbings) of Arctic animals. This book is an excellent springboard to a study of Inuit printmaking techniques.
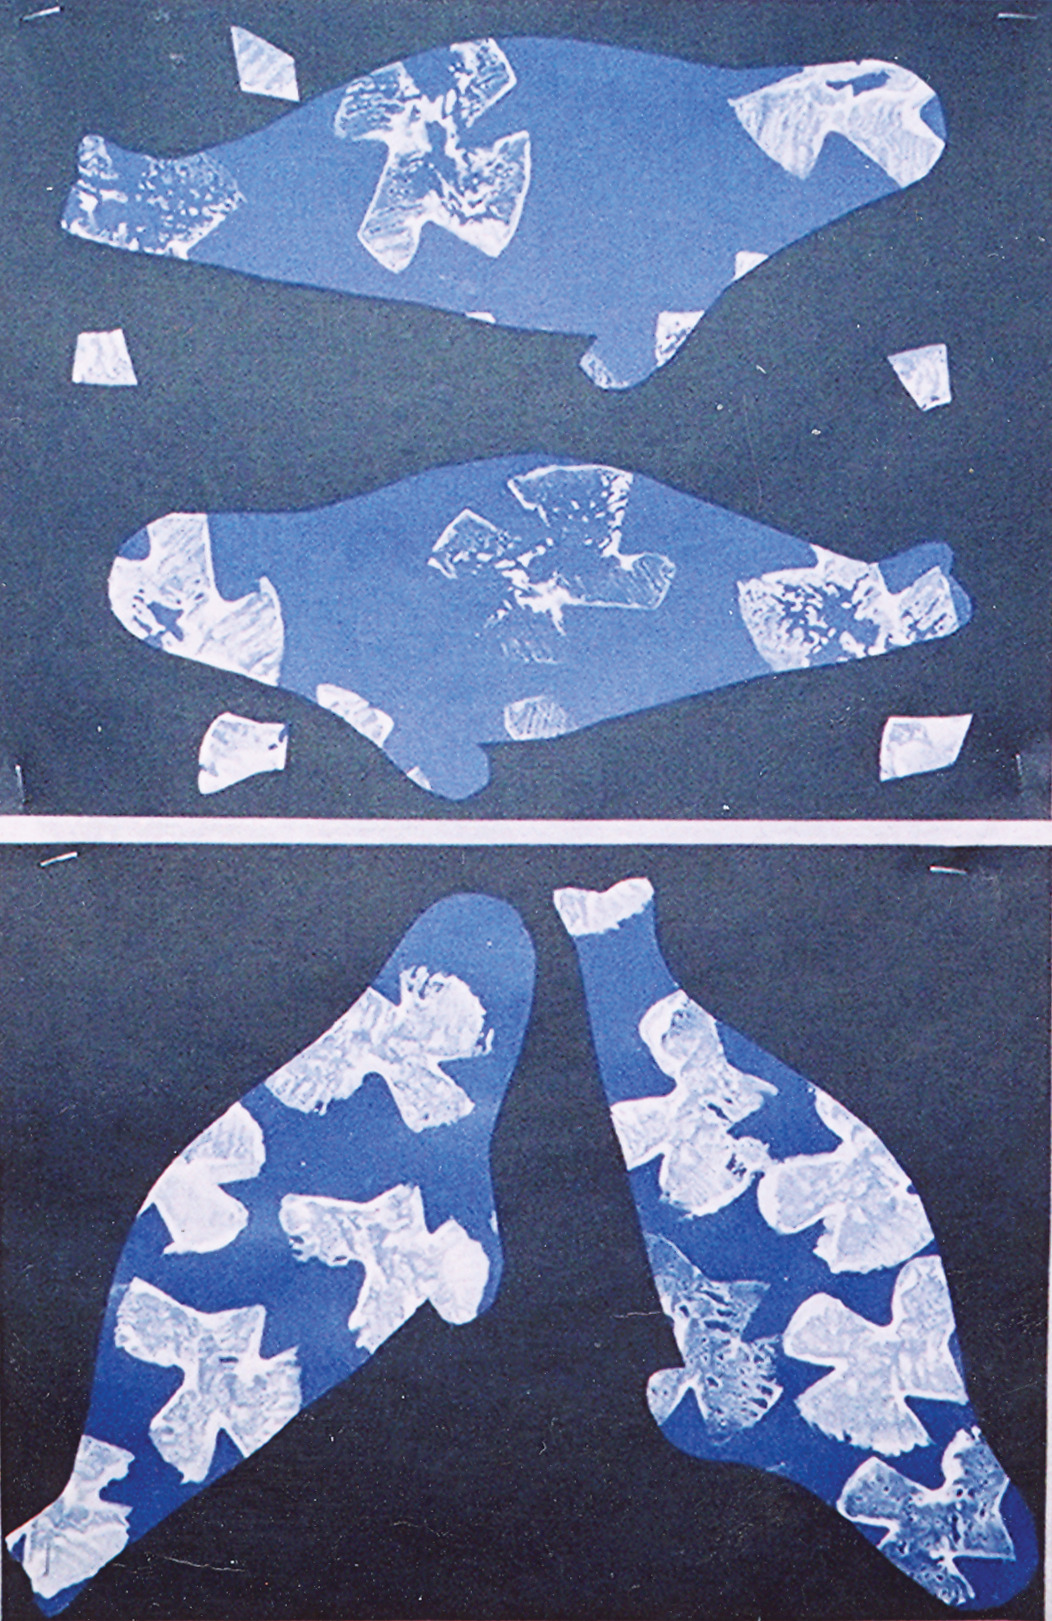
Potato Prints
- Have the students potato print in white tempera paint on coloured construction paper.
- When the paint is dry, flip the prints over and draw or trace a polar bear shape.
- Cut out the polar bear and mount it on a contrasting colour of construction paper.
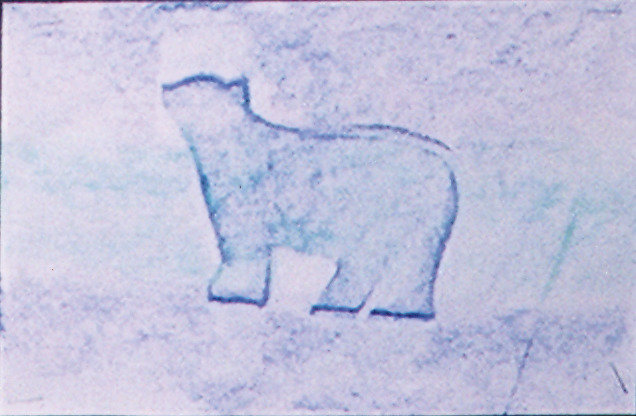
Wax Crayon Rubbings
- Place a polar bear image cut from bristol board underneath a sheet of drawing paper.
- Rub over the surface of the drawing paper with wax crayons. The image of the polar bear will show through.
ABOUT THE AUTHOR
Brenda Boreham
Brenda has 35 years of classroom experience. She has presented workshops on literature based themes and literacy strategies, and has written a number of resources for teachers. She remains passionate about matching up kids with books.
This article is from Canadian Teacher Magazine’s May/June 2012.