


This is the fourth in a series of Planning Department articles that suggests ways to organize schoolwide literacy events around a single book title. The first three articles are available online at www.CanadianTeacherMagazine.com (Winter 2007, Spring 2007 and Fall 2007).
 The Cedar trees around Solomon’s house were special. They shaded in summer and sheltered in winter and whispered secrets to each other on the breath of the wind. But the big old maple was very special. This was the tree that shared its secrets with Solomon. Every day Solomon climbed its knobby trunk and curled up in his favourite notch.
“Hello, tree,” he whispered and stroked the rough bark.
“Hello, Solomon,” the tree rustled back. Its branches cradled his body.
And so begins the story of Solomon and his friend. This beautifully illustrated book by Andrea Spalding and Janet Wilson follows Solomon through the seasons as the tree reveals some of its secrets—hummingbird nests in the spring, the opening of a butterfly chrysalis in the summer and the abundance of golden leaves and propeller-like seeds in the fall. After the tree is felled by a winter storm, Solomon’s uncle helps his nephew lift away his sadness and see the spirit of the tree as they carve a mask from the maple wood together. When the mask is finished, Solomon’s family helps him to celebrate.
Uncle drummed and everyone sang as Solomon lifted the mask to his face and danced. Beneath their feet the spring sunshine warmed the ground and woke a dormant maple seed. As Solomon danced above, the tip of the root sprouted below and pushed into the loamy earth.
“Ahhh,” whispered the cedars to each other. “A new beginning.”
Because Solomon’s Tree addresses the learning outcomes for almost all areas of the curriculum and for multiple grade levels, our staff chose this book for our fourth school-wide literacy project.
What Resources Were Needed?
Materials
• multiple copies of Solomon’s Tree by Andrea Spalding (Orca Book Publishers, ISBN 1-55143-380-x)
• lesson plans and instructional materials developed by the staff in grade groups
People
• grade group planning teams
• student cooking team to prepare fry bread for each class
• Debbie Lambert, our music teacher, as the music/drama co-ordinator for an assembly performance
• Solomon Seward, a carver, to demonstrate his silver carving skills
• Jackson Robertson, a carver, to demonstrate his wood carving skills
What Was the Sequence of Events?
October
• The choice of book was made. Our school literacy committee shortlisted a number of titles and the staff made the final choice at a staff meeting.
November
• Part of our November staff meeting was dedicated to creating a timeline for the Solomon’s Tree project and to brainstorm ideas for the following: literacy sequence ideas, field trips, activities, available resources (people, books, videos, music, etc.). We also talked about specific Before, During and After Reading activities.
January
• Part of our January staff meeting was dedicated to grade group planning for the theme.
• School Wide Event: to celebrate the beginning of the theme, a tray of fry bread was delivered to each class by a student cooking team. Peanut butter, jam and a drink also went along with the treat.
February
• Each class read the story and engaged in the planned activities. Some classes did Science or Social Studies units springboarding from the book (life cycle of the maple tree and butterfly, aboriginal legends, etc.).
• Solomon Seward spent the day at our school. Each class enjoyed a half hour visit with the artist and watched him demonstrate his carving skills. Solomon carved in copper and silver using animal designs chosen by the children.
• Cross Grade Grouping: Our school regularly engages in cross grade grouping activities. Each staff member leads a group of K-7 students in an event (art/craft/literacy/ sports, etc.) For the Solomon’s Tree theme we focused on art and crafts and decorated the hallway bulletin boards with murals, mobiles, prints, collages, paintings and many other artistic interpretations of the book.
• Jackson Robertson spent the day demonstrating mask carving. As the children watched the mask take shape, he talked about his tools and the different types of wood as well as the inspiration for his carvings.
March
• We celebrated the end of the Solomon’s Tree theme with a performance at our monthly assembly. The story was highlighted through music, song and dance performed by students and organized by our music teacher.
What Worked Well?
Staff
Staff collaboration is common at our school, but this project served to open up the planning process and communication across the grades.
Students
Every child had the opportunity to generate thoughtful questions to ask when visiting with our guest carvers. Many spoke of the personal connections that they had to the carving process. Some students shared carvings completed by family members. This theme was highly visible around the school as artwork and photographs filled our hallways.
SOME LITERACY STRATEGIES THAT WORK WITH THIS BOOK
The following strategies can be adjusted to most grade levels.
BEFORE READING
Picture Walk
Materials
• One copy of Solomon’s Tree
• overhead transparencies of the chosen pictures (optional)
• a sheet of drawing paper for each student
Goal
• To have the students develop the ability to make clear mental images and to make predictions.
Process
1. Conceal the cover of the book from the class.
2. Orally describe the cover as the students draw their images on paper.
3. Invite the students to ask you questions about the cover that might clarify their images. Students then add to their drawings.
4. Partner talk: Pairs of students describe what is happening in their pictures to each other.
5. Share out some of the descriptions with the larger group.
6. Reveal the cover by showing the book or a colour transparency of the cover on the overhead projector.
7. Partner talk: Pairs of students discuss what surprises them about the cover illustration. They also share what is the same/different between the cover and their own drawings.
8. Share some of the responses with the larger group.
9. Partner talk: Pairs of students predict what they think the story will be about.
10. Have the students write their predictions underneath the picture.
11. Repeat this process with three other pictures that you have chosen from the beginning, middle and end of the story.
Reflection: Did your prediction stay the same or change after you saw the other pictures? After you heard the prediction of others?
DURING READING
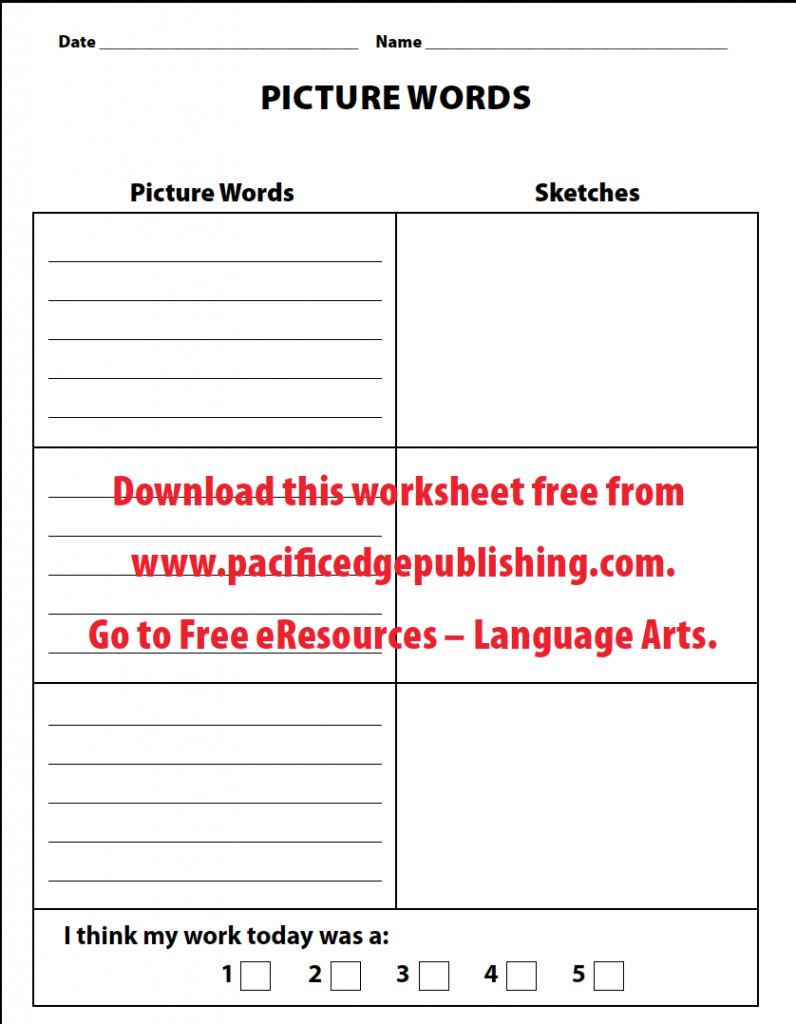
Picture Words
 Materials
• one copy of Solomon’s Tree
• a class set of blank sheets of paper folded into six squares or copies of the Picture Words blackline master
Goal
• To collect colourful imagery words from the story.
Process
1. Before the lesson, divide the story into three logical chunks.
2. Read chunk one to the students. Stop to discuss the story and to look at the pictures.
3. Re-read to have the students identify some colourful imagery words (words that make clear pictures in your mind). Record the words on the chalkboard or on chart paper. Have the students record the words in the first picture words box on their papers.
4. Re-read chunk one as the students illustrate this chunk in the first sketch box.
5. Continue this process for chunk two and three.
Reflection: Have the students evaluate their work at the bottom of the sheet.
AFTER READING
Wordsort
Materials
• a word sort sheet for each student. This consists of 24 words chosen from the “picture words” generated by the students in the last lesson. Each word is typed or printed in a rectangular box on the sheet.
Goal
• To recognize and be able to use some colourful picture words from the story.
Process
1. Distribute the word sorts to the class and read the words together three times (in unison, echo read, buddy reads, in response to clues, etc.).
2. Ensure that the meaning of each word is understood by the students.
3. Have the students cut apart the words and do an open sort (each child makes up his/her own sorting rule).
4. Have the students stand and circulate to look at the other sorts.
5. Have the students report out on the sorts they have seen (any sort the same as yours? any sort that surprised you? did you see one that you would like to try? etc.)
6. Repeat the process with the students making up a new sort.
7. Have the students create a final sort (you supply the rule).
Reflection: Can you use one of these colourful picture words to create an interesting sentence?
ABOUT THE AUTHOR
Brenda Boreham
Brenda is the Literacy Resource Teacher at her school. This part-time position allows her to plan fun literacy events when she isn’t busy in her own classroom.
This article is from Canadian Teacher Magazine’s March 2009 issue.